ISO, photography
Let’s Talk About ISO
Apr
Understanding ISO in Photography
In the world of photography, there are several crucial elements that contribute to creating stunning images. Among these, ISO stands out as one of the fundamental pillars. ISO plays a significant role in determining the exposure of your photographs, influencing everything from brightness to noise levels. In this blog post, we’ll delve into the concept of ISO in photography, understand its significance, and explore how it impacts your photographic endeavors.
What is ISO?
ISO, or International Organization for Standardization, is a standardized system for measuring the sensitivity of film or digital sensors to light. In simpler terms, it determines how sensitive your camera’s sensor is to light. The lower the ISO number, the less sensitive it is to light, while higher ISO numbers indicate increased sensitivity.
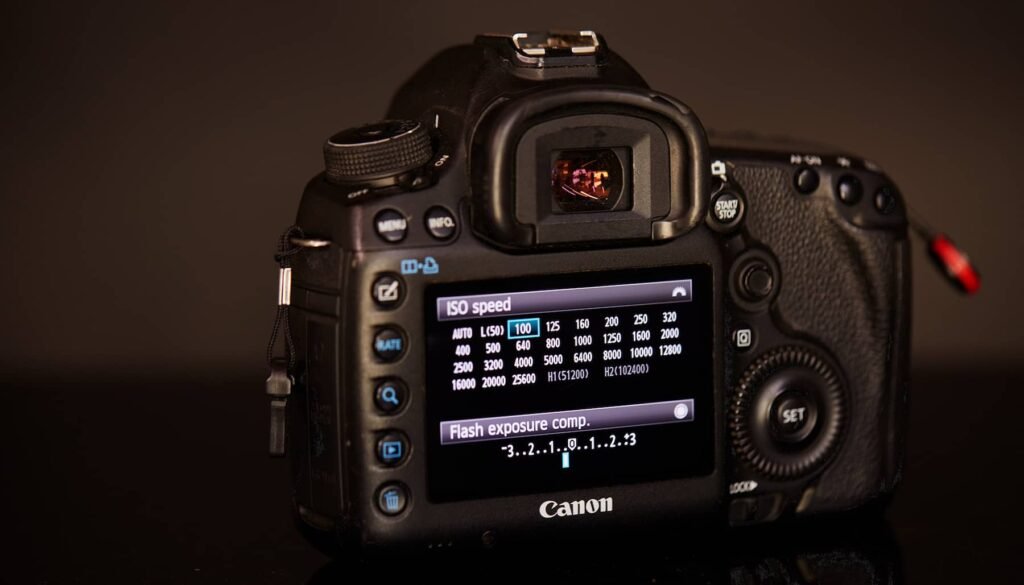
Understanding ISO Settings:
- Low ISO (e.g., ISO 100): This setting is ideal for shooting in bright conditions or when you want the highest image quality with minimal noise. However, it requires more light to properly expose the image.
- Medium ISO (e.g., ISO 400): Medium ISO settings strike a balance between image quality and sensitivity to light. They are suitable for general shooting conditions where there’s enough light, but you still want some flexibility.
- High ISO (e.g., ISO 1600 and above): High ISO settings are used in low-light situations or when you need to capture fast-moving subjects without motion blur. However, using high ISO settings can introduce more noise/grain to the image, reducing overall image quality.
Impact of ISO on Image Quality:
- Noise: One of the most significant effects of ISO is the introduction of noise or grain in your images. As you increase the ISO, the sensor becomes more sensitive to light, but it also amplifies the signal, leading to an increase in digital noise. This noise can degrade image quality, particularly in low-light conditions.
- Dynamic Range: Higher ISO settings can also reduce the dynamic range of your images, leading to loss of detail in both highlights and shadows. This can result in a loss of overall image quality and make post-processing more challenging.
- Exposure: Adjusting the ISO can help you achieve the desired exposure in different lighting conditions. In low light, increasing the ISO allows you to maintain a faster shutter speed or smaller aperture while still properly exposing the image.
Practical Tips for Using ISO:
- Understand Your Camera’s Limits: Different cameras have varying levels of ISO performance. Know the maximum ISO your camera can handle before noise becomes unacceptable.
- Use Low ISO in Good Light: When shooting in bright conditions or with ample artificial lighting, opt for a low ISO setting to maintain optimal image quality.
- Experiment in Low Light: In low-light situations, don’t hesitate to increase the ISO to achieve a proper exposure. However, be mindful of noise levels and try to strike a balance between exposure and image quality.
- Consider Post-Processing: Noise reduction tools in post-processing software can help mitigate the effects of noise, allowing you to use higher ISO settings when necessary.
Conclusion:
ISO is a critical aspect of photography that influences exposure, image quality, and creative flexibility. Understanding how ISO works and its impact on your images empowers you to make informed decisions when shooting in various lighting conditions. By mastering the art of ISO manipulation, you can enhance your photography skills and capture stunning images in any environment. So, next time you pick up your camera, remember to consider the ISO setting and its role in crafting the perfect shot.